
This is part 2 in a multipart series on my lawn makeover project.
Here I was sitting on my front porch on an early Sunday morning. The weather was crisp and cool as early autumn weather should be. I had a cup of coffee in my lap and my new little lawn sprinkler going. Not a care in the world, nor a thought in my head. I just sat there and enjoyed the rhythmic pulsing of the water and the occasional car drive by while sipping my coffee.
Lawn Makeover Progress
Yesterday I did a significant amount of work on the lawn. I continued my task of pulling weeds and ended up with another bucketful. The rest of the lawn mowing in Ipswich was done by a lawn mowing service I’d hired. This time the weeds were slightly different. They were broad-leafed much like dandelions, but they had a really thick center root. I wish I’d had enough forethought to photograph one.
After a while, pulling weeds turned into a game of Where’s Waldo. Sometimes I could easily spot their radiating broad leaves among a patch of grass. Other times, I had to crouch down and look really closely at certain ones to identify it.
A Worthy Weeding Tool: The Step and Twist Hand Weeder
I have to give props to the Step and Twist Hand Weeder from Garden Weasel. This makes pulling weeds SUPER easy, root and all. You just identify the center of the weed, press the hand weeder right into it, twist it in a complete circle and pull. The weed comes out in a complete clump. You just have to hold it over your trash bucket and press the spring-loaded lever to eject the weed from the bottom of the weeder. I would say it pulls the weed successfully about 90% of the time. Sometimes you miscalculate the location of the center of the weed, or the weed root ends up being too strong to be pulled up.
However, I would like to point out that your success rate will be higher when you use this tool the day after a good rain or after you water your lawn. Weeds are a lot easier to pull when the soil is moist and has a bit of give.
First Fall Lawn Feeding
Every lawn guide and article I’ve read so far has said feeding your lawn twice a year is good, but four times a year is even better. It’s hard to argue with that logic because I know I’m usually happier after I’ve been fed too. Also I imagine this lawn has been neglected for several years and probably hasn’t even seen a bag of compost ever, so it deserves 4 meals this year.
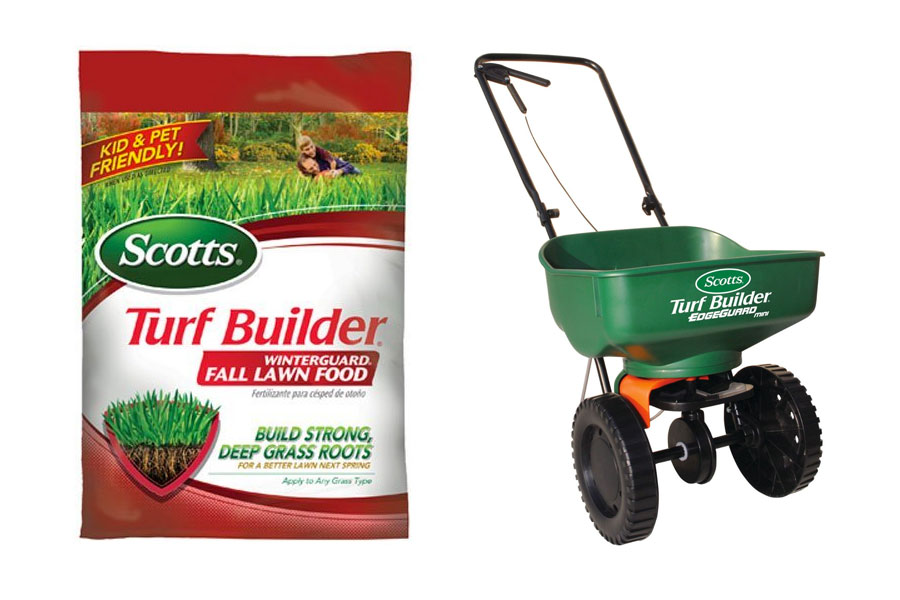
Like I said in my previous post, I have a simple mini broadcaster and a bag of Winterguard Fall Lawn Food, both by Scotts. I’ve read a lot of mixed reviews about Scotts products, but then again I’ve read mixed reviews about a lot of the lawn products in this particular category so it’s not easy to find one that really stands out as extraordinary. Ultimately I decided well, it’s a familiar brand and affordable so I’m happy with it.
Application was easy. You open the bag, pour the fertilizer into the bin of the spreader, and set the simple dial settings to the settings recommended on the package. If you have broadcast spreader with an “edgeguard” feature, as mine does, you’ll want to position your spreader with the edgeguard active and the tool on the correct side. This particular feature allows you to narrow the broadcast pattern so that you don’t waste any of your fertilizer on sidewalks, driveways, or plant beds.
I used an entire 5,000 sq. ft.-bag of fertilizer for this lawn, going over every inch at least twice, if not 3 times. I don’t know if that was too much or not, but taking into consideration that most of the fertilizer may just be absorbed into the thatch layer, I’m hoping that the extra application would make it through to the soil.
Lawn Irrigation: The Impact Sprinkler
“Thousands have lived without love, not one without water.” – W. H. Auden
Well I knew it was only going to be a matter of time before I had to figure out an irrigation system. I evaluated many different types of sprinklers on the market. There were oscillating sprinklers, rotating sprinklers, turret sprinklers, even train sprinklers that traveled a designated path on your lawn.
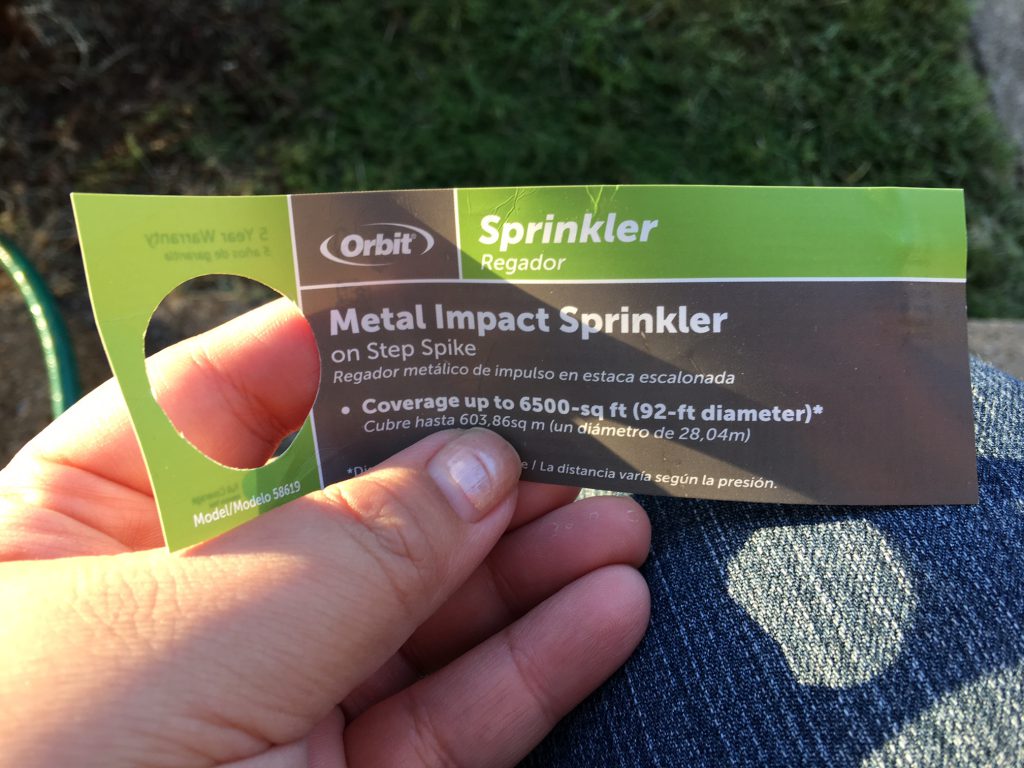
Eventually I settled on a simple $13 impact sprinkler from Orbit. Once again almost every single sprinkler had terrible reviews and tons of complaints. It was a losing battle trying to choose one. However what I did like about this one was it was mostly metal construction, including the sprinkler head. So that I know that it could at least withstand a beating in the hot Texas sun. And overall it just felt more hefty than the cheap plastic ones with all the fancy spray patterns and stuff.
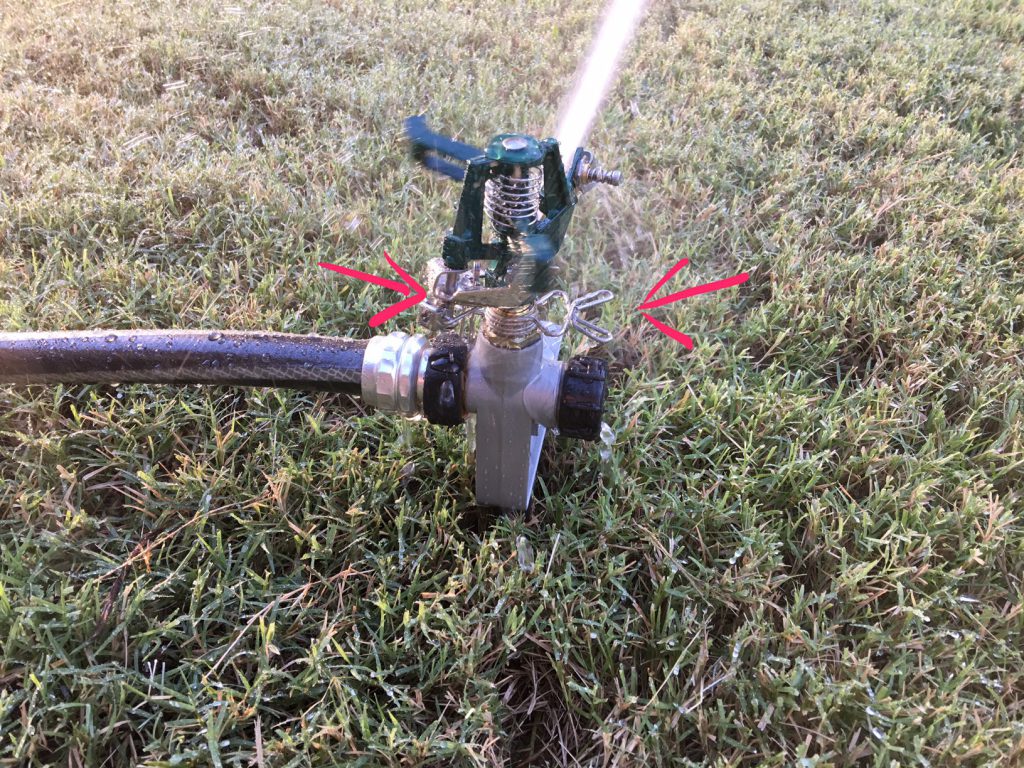
I went with this particular one because well I’m familiar with this particular design. I still remember the red one my parents had when I was a kid. It would make this “click-click-click…shhhh…..” noise as it rotated from one side to the other and I found something familiar in that.
The circumference of irrigation circle is easily adjusted using the two metal pins along the collar of the device. See photo below.
So for a first time use, I’m pleased. If things go well, I’ll probably get the 2-pack sprinkler set and an extra hose so I can connect all 3 together and water multiple zones at one time. This will save me the hassle of timing one zone, moving the sprinkler, and then timing the next zone and so on.
See You on November 5
According to my recommended lawn plan, I don’t have to do anything else until late fall begins which is November 5. For now I’m just going to continue the weekly waterings and weed pullings, a.k.a. fun times.
Stay tuned for the next post.